A page on how to change the position of a Feature and how to rotate it.
¶ 1. Positions
There are several ways you can move a feature. Below we will be going through each of them.
¶ A. Get a position
You can get an item's position using the following line:
feature.position
It will return a Vector3 object which looks something like {x:..,y:..,z:..}
Therefore, to obtain the position x, y or z you can write:
feature.position.x
// or
feature.position.y
// or
feature.position.z
¶ B. Set a position
You can set an item's position using the following line:
feature.position.set(x,y,z)
//or
feature.set({position:[x,y,z]}) // But ignore this for now. See section 4.
For example:
let myObject = parcel.getFeatureById('myImage') // Get a feature called 'myImage'
setTimeout(()=>{ // Wait 5 seconds
  myObject.position.set(4.5,0.75,0.5) // move the feature called 'myImage' to x:4.5,y:0.75,z:0.5
},5000)
Changing only one axis
Now say you would like to change only one axis.
Imagine you have a Feature at position {x:1,y:1,z:1} and you want to change it to y=0.5
Of course, you can write
feature.position.set(1,0.5,1)
But what's the point in adding the unnecessary 1s. And what if you don't have the other coordinates?
In this case, it might be preferable to write the following:
feature.position.x = 5 // if you would like to change x to 5
// or
feature.position.y = 0.5 // if you would like to change y to 0.5
// or
feature.position.z = 6 // if you would like to change z to 6
¶ C. Practical example
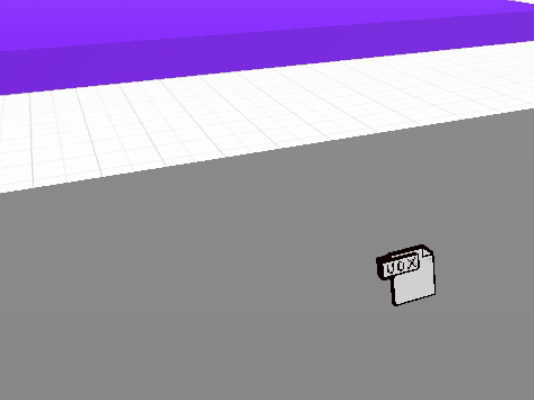
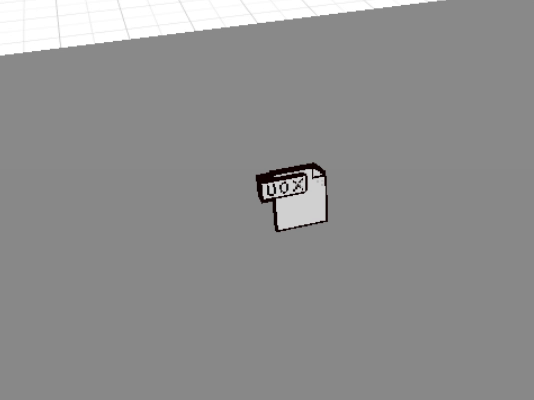
In this quick example, we make an item go left and right (or north/south) every 1 seconds.
let right=true // Acts as a switch (if true: go left, if false: go right)

setInterval(()=>{ // Starts intervals
    if(right){
  	feature.position.z = feature.position.z + 0.25 // move to the left (or north)
    right = !right
  }else{
    feature.position.z = feature.position.z - 0.25 // move to the right (or south)
    right = !right
  }
},1000)
What it looks like:
¶ 2. Rotations
Just like positions, there are several ways you can rotate a feature. Below we will be going through each of them.
When using the scripting to obtain or set the rotation of a feature, remember that rotation angles are in Radians whereas rotational measures in the editor are in degrees.
.
For reference: 360 degrees turn is 3.14 in Radians. and 180 degrees turn is ~1.57 in Radians.
¶ A. Get a rotation
You can get an item's rotation using the following line:
feature.rotation
It will return a Vector3 object which looks something like {x:..,y:..,z:..}
Therefore, to obtain the rotation x, y or z you can write:
feature.rotation.x
// or
feature.rotation.y
// or
feature.rotation.z
¶ B. Set a rotation
You can set an item's rotation using the following line:
feature.rotation.set(x,y,z)
//or
feature.set({rotation:[x,y,z]}) // But ignore this for now. See section 4.
For example:
let myObject = parcel.getFeatureById('myImage') // Get a feature called 'myImage'
setTimeout(()=>{ // Wait 5 seconds
  myObject.rotation.set(0,1.57,1.57) // rotates the feature called 'myImage' on its y and z axis by 180 degrees each.
},5000)
Changing only one axis
Now say you would like to rotate only one axis.
Imagine you have a Feature with rotation {x:0.52,y:1.57,z:0.1} and you want to change it to y=3.14
Of course, you can write
feature.rotation.set(0.52,3.14,0.1)
But again, what's the point in copying and pasting the previous rotation data. And what if you don't have the x and z axis?
In this case, it might be preferable to write one of the following depending on you needs:
feature.rotation.x = 0.85 // if you would like to change x to 0.85 radians
// or
feature.rotation.y = 3.14 // if you would like to change y to pi (360 degrees)
// or
feature.rotation.z = 0.5 // if you would like to change z to 0.5 radians
¶ C. Practical example
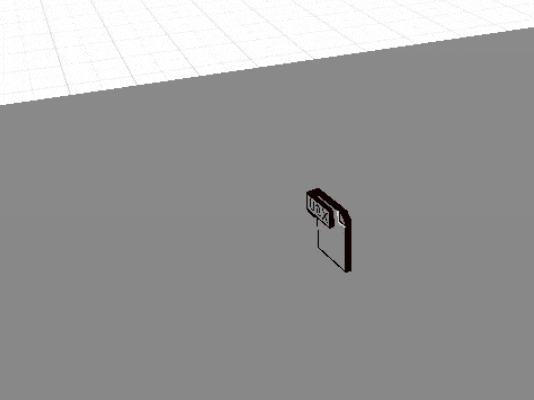
In this quick example, we make an item turn clockwise and anti-clockwise every 1 seconds.
let clockwise=true // Acts as a switch (if true: go anticlockwise, if false: go clockwise)

setInterval(()=>{ // Starts intervals
    if(clockwise){
  	feature.rotation.y = feature.rotation.y + 30 // move anticlockwise
    clockwise = !clockwise
  }else{
    feature.rotation.y = feature.rotation.y - 30 // move clockwise
    clockwise = !clockwise
  }
},1000)
¶ 3. Scaling
The scale property of a feature is very similar to position and rotation.
¶ A. Get a scale
You can get an item's rotation using the following line:
feature.scale
It will return a Vector3 object which looks something like {x:..,y:..,z:..}
Therefore, to obtain the scale x, y or z you can write:
feature.scale.x
// or
feature.scale.y
// or
feature.scale.z
¶ B. Set a scale
You can set an item's scale using the following line:
feature.scale.set(x,y,z)
//or
feature.set({scale:[x,y,z]}) // But ignore this for now. See section 4.
For example:
let myObject = parcel.getFeatureById('myVox') // Get a feature called 'myImage'
setTimeout(()=>{ // Wait 5 seconds
  myObject.scale.set(5,5,5) // Change the scale to a large 5x5x5 object.
},5000)
Changing only one axis
Now say you would like to scale only one axis.
Imagine you have a tree with the following scale {x:1,y:1,z:1} and you want to change it to y=6 because trees tend to have good height. (ha..hem love u Bonzais)
Of course, you can write
feature.scale.set(1,6,1)
But again and again, what's the point in copying and pasting the previous scale. And what if you don't have the x and z axis?
In this case, because we only need to change one axis, we can use:
feature.rotation.x = 6 // if you would like to change x to 6
// or
feature.rotation.y = 6 // if you would like to change y to 6
// or
feature.rotation.z = 6 // if you would like to change z to 6
¶ C. Practical example
In this quick example, we make an item become large every 1 seconds.
let small=true // Acts as a switch (if true: go big, if false: go small)

setInterval(()=>{ // Starts intervals
    if(small){
  	feature.scale.set(2.5,2.5,2.5) // Make it big
    small= !small
  }else{
    feature.scale.set(1,1,1) // Make it small
    small= !small
  }
},1000)

¶ 4. Other methods.
To set the property (position,rotation or scale) of a feature you can also use the following lines:
feature.set({position:[x,y,z]})
//or
feature.set({rotation:[x,y,z]})
//or
feature.set({scale:[x,y,z]})
To properly understand this methodology you have to be somewhat familiar with Arrays. This is because the data we assign each property is an array [x,y,z].
The advantage of this method is that it allows you to assign multiple properties in one line, for example:
feature.set({position:[x,y,z],rotation:[x,y,z]})
// Assigns a position and a rotation.
Here is a practical example:
let small=true // Acts as a switch (if true: go left, if false: go right)

setInterval(()=>{ // Starts intervals
    if(small){
  	feature.set({scale:[2.5,2.5,2.5],position:[4.5,0.75,1.5]}) // move to the left and be big
    small= !small
  }else{
  	feature.set({scale:[1,1,1],position:[4.5,0.75,0.2]}) // move to the right and be small
    small= !small
  }
},1000)